Learning to swim can feel both exciting and challenging for beginners.
Whether someone is looking to swim recreationally or to build strong fundamentals for fitness, starting with simple yet effective drills can help.
Combining swimming drills for beginners with proper breathing drills enhances technique and builds confidence in the water.
This guide will cover the 11 basic swimming drills for beginners, including step-by-step instructions, breathing exercises, and helpful tips for improving your skills. By the end, you’ll have the skills and technical know-how to swim more efficiently and enjoyably.

The front float is a foundational drill that teaches beginners how to relax and trust the water’s buoyancy. It’s the first step to feeling comfortable in the pool.
Step-by-Step Drill
Relaxing and taking it easy is essential as you lay on top of the water.
The more tense you are, the more likely you are to sink; the best way is to imagine that you are lying on a comfortable bed. However, if you still feel uneasy, you can grab the pool edge for safety as you gradually get used to the floating sensation.
The back float is critical for beginners because it helps them rest and breathe easily in the water. It also teaches them to breathe calmly and improves your body’s coordination and control of the water’s surface.
Step-by-Step Drill
As a rule, your ears should be underwater, and your face should look up to the ceiling. One neat trick is to lift your hips in the air, as dropping your hips will cause you to sink.
More importantly, start small. If you feel nervous, float for a few seconds and gradually increase your time.
This drill focuses on body position and movement efficiency, teaching swimmers to move smoothly through the water. A proper body alignment during strokes reduces drag, helping swimmers move more efficiently.
Step-by-Step Drill
Your face should look down at the pool floor, keeping your spine aligned. Your legs should be straight. Think of this as pointing with your toes, as it creates less resistance and helps you glide further.
While a strong push is helpful, don’t overdo it. Focus on form, not speed.

Flutter kicks strengthen the legs, improve propulsion, and teach beginners the basics of swimming movement. Swimming can be energy intensive, and a proper kicking form helps avoid energy wastage and optimises your body’s reserves.
Step-by-Step Drill
Focus on small, controlled kicks instead of big splashes. Keep your legs loose and relaxed; rigid legs tire quickly and create drag.
The torpedo drill combines kicking and gliding to help beginners improve forward momentum. This builds kicking strength and balance, which helps improve forward swimming movement.
Step-by-Step Drill
Akin to a missile, avoid wiggling side to side, as this will increase drag. Instead, focus on moving in one straight form. Lift your head only when needed to breathe, keeping movements minimal.
This drill helps beginners focus on arm strokes and breathing without feeling overwhelmed. This teaches arm technique for better control and helps beginners develop a breathing rhythm.
Step-by-Step Drill
One common mistake beginners make is holding their breath while swimming. Breathing on every stroke is important, as timing is key here.
Since beginners are just starting to feel the water, focus on smooth, controlled strokes instead of rushing.
The catch-up drill is excellent for beginners learning freestyle. It slows the stroke down and allows swimmers to focus on arm movement, body position, and breathing rhythm. Coordinating your stroke with breathing and developing steady rhythmic breathing when swimming is important.
Step-by-Step Drill
Focus on slow, controlled strokes to focus on technique. With each arm stroke, reach as far forward as possible for better efficiency. Always exhale underwater and inhale during the stroke recovery. This will help you stay relaxed.

Sculling teaches swimmers how to use their hands effectively to “feel” the water and generate small amounts of propulsion.
Step-by-Step Drill
Sculling movements should be subtle and controlled, not large or exaggerated. It’s also important to relax your hands. Don’t clench your fingers; keep your hands cupped with fingers close together.
If you find maintaining the balance difficult, work on the front or back floating before adding sculling!
One common habit most beginners have is holding their breath while swimming, which causes tension and fatigue. Breathing bobs are a simple yet effective exercise to build confidence with underwater breathing and improve breath control.
Step-by-Step Drill
It’s important to start slow. Remember that you’re here to build up confidence and improve your breathing techniques. So, focus on gentle, steady exhales underwater.
Keep your muscles loose to prevent unnecessary tension. It’s also a good idea to count how many “bobs” you can comfortably do and gradually increase the frequency from there.
The pencil float improves balance and teaches swimmers to maintain a vertical body position. This does a few things: It helps beginners control their bodies in the water, builds floating confidence, and strengthens the core body, which is key for all forms of swimming techniques.
Step-by-Step Drill
Stay still and avoid unnecessary movements, which will disrupt your balance. If you struggle, start by holding onto the pool edge for support and slowly drift away from the edge as you build up confidence and support.

Treading water is a survival skill that helps swimmers stay afloat in deep water without swimming forward. It strengthens the legs and teaches energy conservation. It’s no doubt difficult for newcomers, but it’s an essential skill for safety and confidence in the water.
Step-by-Step Drill
If treading water feels difficult, start near the pool wall, where you can grab on for support if needed. Staying calm is key—treading water should feel controlled, not rushed. Take slow, steady breaths and focus on gentle movements rather than frantic splashing.
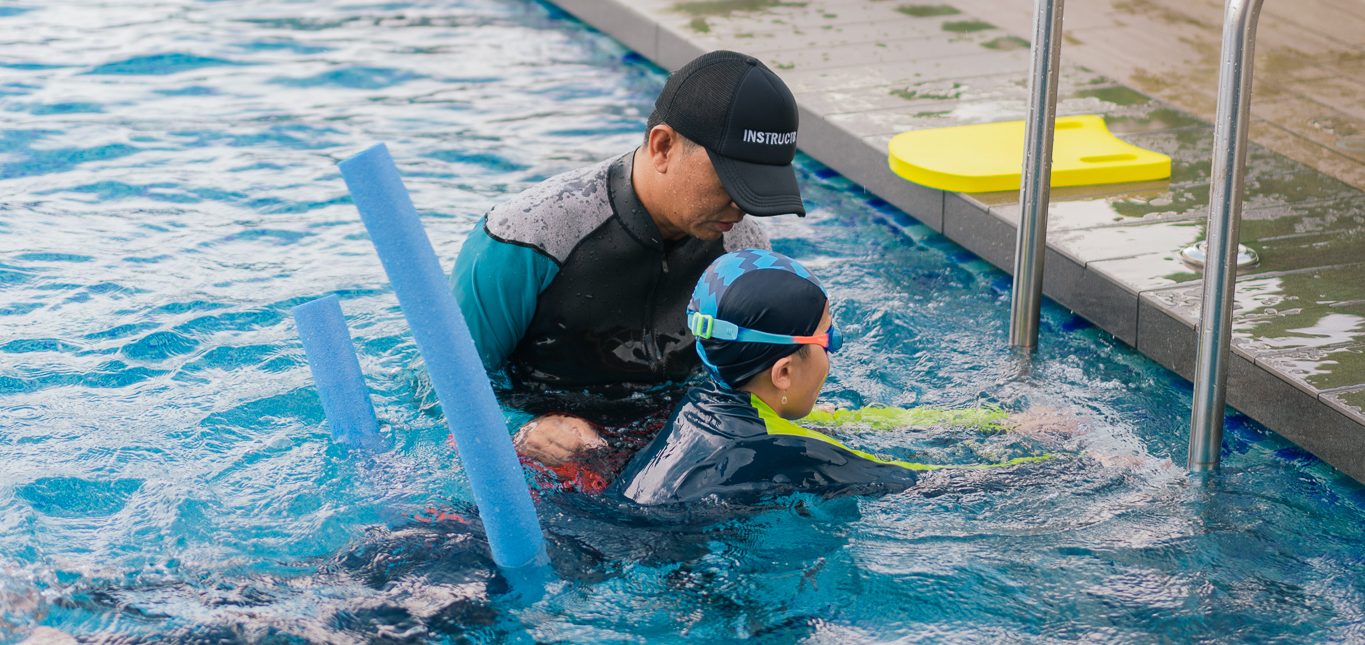
Using a pool noodle or a float belt helps beginners stay buoyant. These aids provide extra support, allowing you to focus on your technique without the fear of sinking. Once you build confidence, gradually reduce reliance on these tools until you can tread water independently.
Swimming drills are step-by-step exercises designed to focus on individual movements, helping beginners build a solid foundation in the water.
For first-time swimmers, challenges like coordinating strokes, maintaining proper body position, and breathing smoothly can feel overwhelming. Drills simplify these skills by breaking them into small manageable parts, this allows beginners to focus on one area at a time.
By regularly practising swimming drills, beginners can:
Starting with drills gives beginners a clear path to progress, ensuring steady improvement and a strong swimming foundation. So, with that said, let’s get to the 11 basic swimming drills for beginners.
Many beginners instinctively hold their breath while their face is underwater, thinking it helps them stay afloat. However, this causes tension in the body and disrupts buoyancy.
How to Avoid It:
Helpful Tip: Remember, holding your breath creates panic. Relaxing into a slow exhale will make swimming feel much smoother.
Beginners often overkick with large, frantic leg movements, thinking it will help them move faster. In reality, this wastes energy and disrupts balance.
How to Avoid It:
Helpful Tip: Think of quick, light kicks that make small bubbles, not splashes. If your legs are splashing above the water, slow down and adjust.
Lifting the head too high while breathing is a common mistake that causes the hips and legs to sink, throwing off balance and making swimming harder.
How to Avoid It:
Helpful Tip: Picture turning your head “like you’re resting it on a pillow.” Only rotate enough to inhale, and keep your chin close to your shoulder.
Many beginners rush through swimming drills, focusing on speed rather than mastering proper technique. This can lead to poor form and limited progress.
How to Avoid It:
Helpful Tip: Treat drills like building blocks. Master each step at your own pace, and don’t compare yourself to others. Progress comes with practice and patience.
Mastering the basics of swimming starts with the right drills, and these 11 easy swimming drills for beginners provide step-by-step guidance to help new swimmers build confidence and develop their skills at their own pace.
Whether learning to float, perfecting your kicks, or practising breathing techniques, each drill lays the foundation for smoother, more enjoyable swimming.
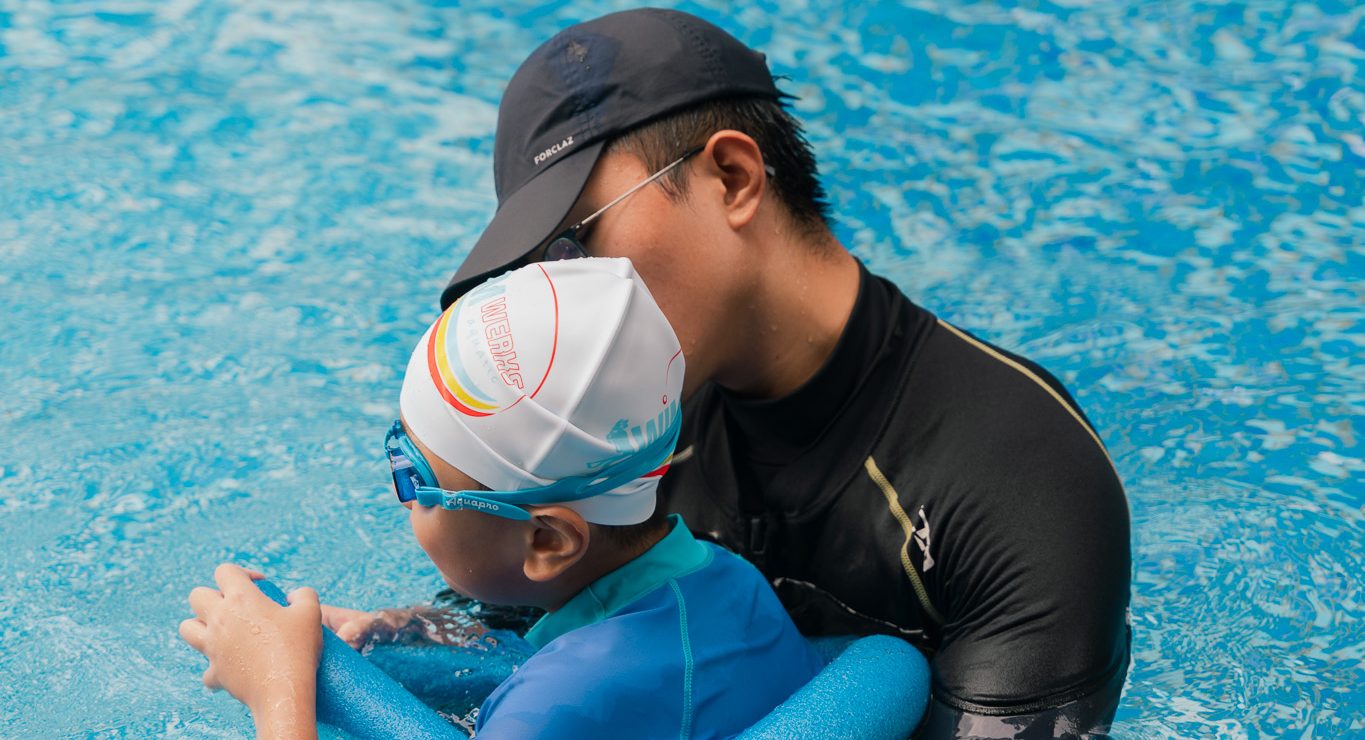
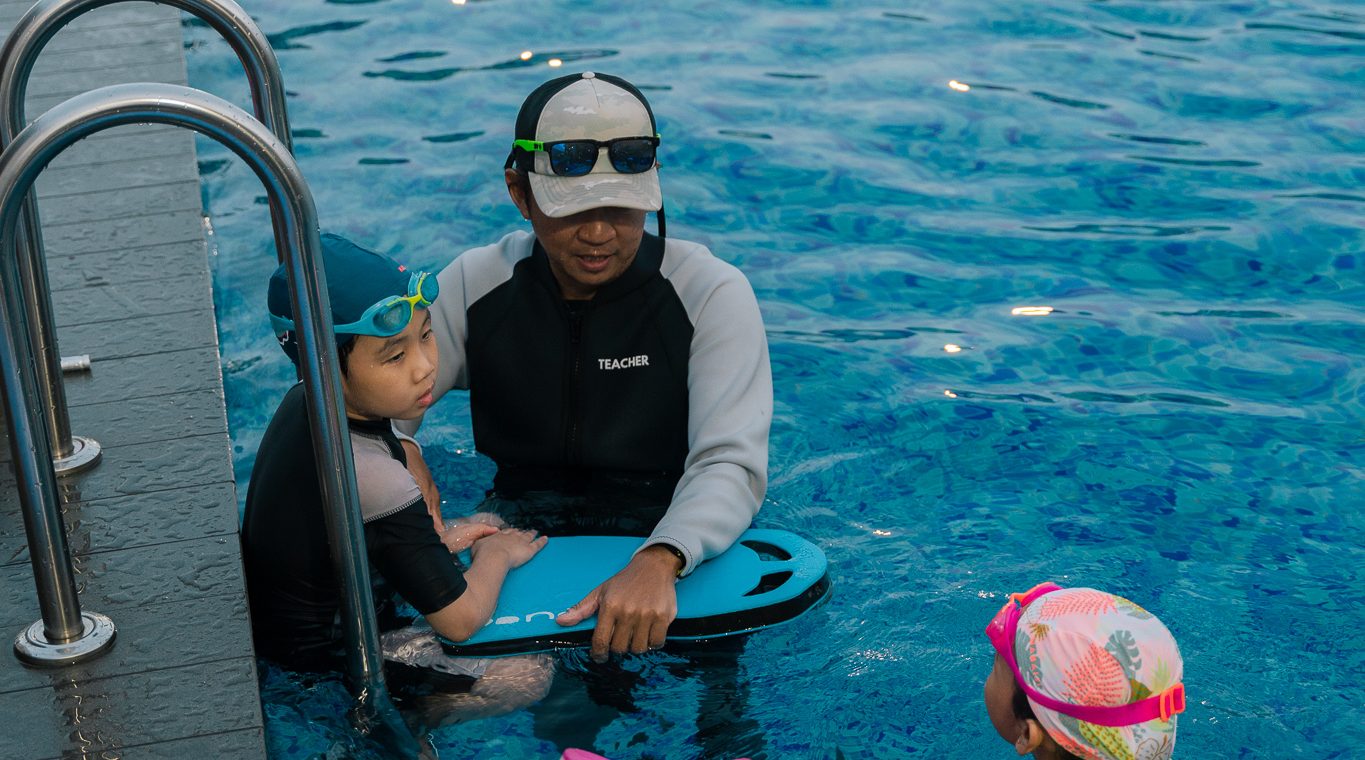
If you’re looking to improve your swimming skills, Swimwerks offers expert lessons tailored to all skill levels in Singapore. With certified instructors, personalised training plans, and a supportive learning environment, Swimwerks helps beginners progress confidently and safely in the water.
Don’t wait to start your swimming journey! Contact Swimwerks today to learn more about their programmes and discover how you can transform from a beginner to a confident swimmer.
Floating drills, flutter kicks, and arm movement drills like the catch-up drill are excellent for beginners.
Breathing drills help swimmers relax, improve oxygen efficiency, and coordinate breathing with swimming movements.
Beginners should practise drills 2-3 times weekly to build confidence and muscle memory without overexertion.
Beginners can focus on steady exhalation underwater, bilateral breathing techniques, and rhythmic breathing coordination.
Kickboards, pull buoys, and snorkels are helpful tools for effectively practising swimming and breathing drills.
Improvement depends on consistency and practice, but most beginners notice progress within a few weeks of regular drills.